The Angular Renaissance has started with Angular 17

Yesterday (the 6th Nov) the new Angular.dev website was released as part of the new push for Angular, what is now being called the Angular Renaissance (a great way of putting it).

The new site looks amazing, the navigation is great, and the new docs are excellent. It is so much easier to find information in this new layout; the team has done an amazing job.

As part of the new launch, the Angular team hosted a live stream on YouTube going through the new features coming in Angular 17. Standalone components will be the default from version 17. There will be new component flow controls that will eventually replace ngIf and ngFor. There’s also the new deferred loading, which looks fantastic and is a great feature. Additionally, there is the ability to use ESBuild and Vite as replacements to the current build system, Webpack, making build times 2.5 times faster.

So Angular 17 is a major revamp of the framework, it can now really compete with the other web frameworks, and still continue to be an excellent choice for a company to invest their time and money using for their next web application.

amazed formal male looking at laptop screen
Angular is exciting again

After finally catching up with the keynote talk at this year’s NgConf and seeing all the new features and direction Angular is moving towards, I really feel that Angular is exciting again.

Not to say it wasn’t exciting before, but when you look at what the other frameworks were doing and the way they allow you to build apps, going back to work on an Angular app wasn’t as exciting as working with something like Vue for example.

It’s not that I don’t enjoy working with Angular, I do, it’s what I specialise in, that’s things did start to appear over complex when you compare it to other approaches and how fast you can develop with them Angular was becoming too over complex and slow to work with.

Why Angular is now a better Choice for building apps

Now, with Angular v16, Angular is back as a great choice to build full-featured applications. I’d actually say that it’s better than other choices as not only can you build Angular apps using a more streamlined approach, but you get all the other features like routing, an HttpClient, a testing framework, the CLI, RxJs all as part of the framework. Removing the need to worry about what third-party library you need to bring into your project just because the framework you’ve chosen doesn’t have built-in support for it.

So what are these new features that make Angular exciting?

In version 16 there are Signals, Standalone Components (which actually came out in version 15), Server-Side Hydration, Required Inputs, and Deferred Loading (this is still in an RFC so might come in a later minor version of v16).

Plus there are a set of new developer experience-related tools that make Angular v16 even better to work with. These tools include schematics to change your NgModule-based applications to use Standalone components, support for TypeScript version 5, the ability to pass data via a route into your components directly using the Component’s inputs instead of just relying on query or path params, an improved Angular language service so imports are automatically added in your editor and so much more. To get a complete overview read this post from the Angular Blog.

Is there a new approach to Angular?

Well, with the new features in v16, Angular apps can now be built using a different approach to previous versions. If you want to build a fast, lightweight application with a few components then previously you may have looked at React or Vue, but now Angular is in that mix because an Angular app can now be developed without large Modules or complete RxJs functions. If you have a team of developers who are new to web development, then having them build an Angular app that just uses components and makes use of Signals to pass data between components (which is conceptually easier to get than RxJs when starting out) is now a great approach.

Angular can now be written in a far more streamlined and straightforward approach, then as the needs of the application grow (and that always happens) more of the features from Angular can be incorporated into the application.

So now you can build Angular apps using a different approach, no more does Angular need to be seen as this web framework where it can only build large-scale enterprise apps can. You want to get started building quickly, use Angular 16, want your team of new developers to learn a well-documented and stable framework, use Angular 16, want to start your new enterprise-level application that needs to be supported over the next 2-5 years, use Angular.

I’m looking forward to diving into Angular 16 over the next few weeks it’s good to be part of the Angular community.

assorted books on shelf
Dealing With CommonJS based dependencies

An Angular quick tip I discovered today was if you have an application with many third-party libraries that use CommonJS instead of ES modules. You can add the names of these libraries to the "allowedCommonJsDependencies" option in the builder settings in Angular.json.
This helps remove all the warnings in your build, it is basically telling Angular that these libraries are ok to use CommonJS for now until they are updated.

This is great if you are updating an Angular app, but don’t want to go through and update all the dependencies that are still using the CommonJS approach. Then over time as you update these libraries they can be removed from the "allowedCommonJsDependencies" array.

Here’s a link to the official Angular docs on this – https://angular.io/guide/build#configuring-commonjs-dependencies

Photo by Chris Ried on Unsplash
Using third party libraries are useful as long as they are maintained

There’s no denying that the open-source movement has helped move web development forward. Before open source was so prevalent on the web everything had to be built from scratch, there was no searching on NPM for a library that could help fix an issue you had or a framework to structure your application.
But one of the downsides I see with using third-party libraries in your application is if this library is no longer maintained or updated and your work relies heavily on this library it can easily become a maintenance nightmare.

I’ve worked on a few Angular apps now and many are using third-party libraries every time a new version of Angular is released I have to check if these libraries work with the latest version, which on the whole they do. But if one of these libraries is no longer maintained or worked on, then you are stuck with the choice of either not upgrading your Angular version (something I don’t recommend) or refactoring your code to remove this dependency (something I do recommend).

So when it comes to adding third-party libraries to our codebase we need to make a few decisions. First, is it regularly maintained? Checking the history of the library on GitHub can answer that. If there have been no updates within the last year I get worried. Second, if it is maintained how crucial is this library going to be in my application? If it’s core to how the app works how would I maintain the app if later this library is no longer updated? Will it break my application? Can I easily refactor my code to remove this dependency if I need to? These are all questions that need to be considered before just adding a library.

One tip I have used is if you are using a third-party library or component in your application to wrap it within your own library or component then use this ‘wrapper’ throughout your codebase. So if you need to remove the outdated component/library all you need to do is refactor your ‘wrapper’ to either use another third-party library/component or your own version.

Open source is fantastic, it provides so much but I think that in large-scale applications we need to be defensive in how we use open-source code. Third-party libraries are created by some excellent and hardworking developers, many of whom do this work on top of their own, so I think we should be thankful for their work, but just be aware of how much we are using these libraries.

Working with Vue

For the last few months I’ve been working with VueJS instead of Angular and I’ve honestly been enjoying using a new framework.

The things I like about Vue?

Well, there’s the component-based architecture, which I know other frameworks have, but Vue’s approach is very straightforward. There are now modules, Angular had just released a new version which means you don’t need modules, but I haven’t used it yet to compare. So starting with Vue it was nice to see how another framework handles not using modules.

I really like the Composition API pattern for writing components, it is ideal for creating reusable components and writing reusable code through the concept of composables.

The routing library is very good, similar to Angular’s approach, but with the scope to replace it with another version if one comes out ( so far I’ve only seen one library that is for managing the routing in a Vue app).

There is a great ecosystem built around Vue, with a few people in the community doing some fantastic work around Vue. This means if you want to add a new feature, there might be a library or a composable (I recommend looking at the UseVue site for the list of composables that can be helpful in any project).

A couple of things I’m not too keen on

First one is single file components. I prefer the way Angular handles things with the three separate files. If you have a lot of HTML and CSS in your file, along with the Typescript, I find that I am scrolling up and down the file a lot as I work on it. Now that could be because I’ve put a lot in the component and it could be broken down into smaller components, and I know there is a plug-in for VS Code (Volar) that splits the component across two panels making it easier to work with, but I don’t use VS Code I prefer Webstorm. So single file components are not my favourite feature.

Another thing that I’ve found is, that when I started working on this project we were on the beta of Vue 3, and as I continued developing the project Vue 3 was stabilised. As part of this, some of the preferred approaches were set out by the Vue team. For example, the Pinia state management library is the preferred choice, I’m using Vuex. The script set-up tag is preferred to the setup function in Composition API, but I’ve implemented our components using the setup function approach. Now, these aren’t big issues, but it does mean that our application will need to be refactored one day with these changes to match the preferred way of developing Vue apps. That’s not a major problem, just a pain.

Generally, I like Vue, I think I’d like to use it more. I think with Vue 3 you can build really stable enterprise-level applications without having to buy into a large organisation’s way of working. If you want to build an enterprise application but don’t want to use a product owned by either Google or Facebook, then Vue is the framework for you.

Continuing With Vue

I’m looking forward to continuing with Vue, seeing where it goes and using it more in the future. As an approach for building web applications, it’s extremely good, well thought out and supported. As long as there is a community to support Vue I think it will continue to go from strength to strength.

The Angular Masterclass

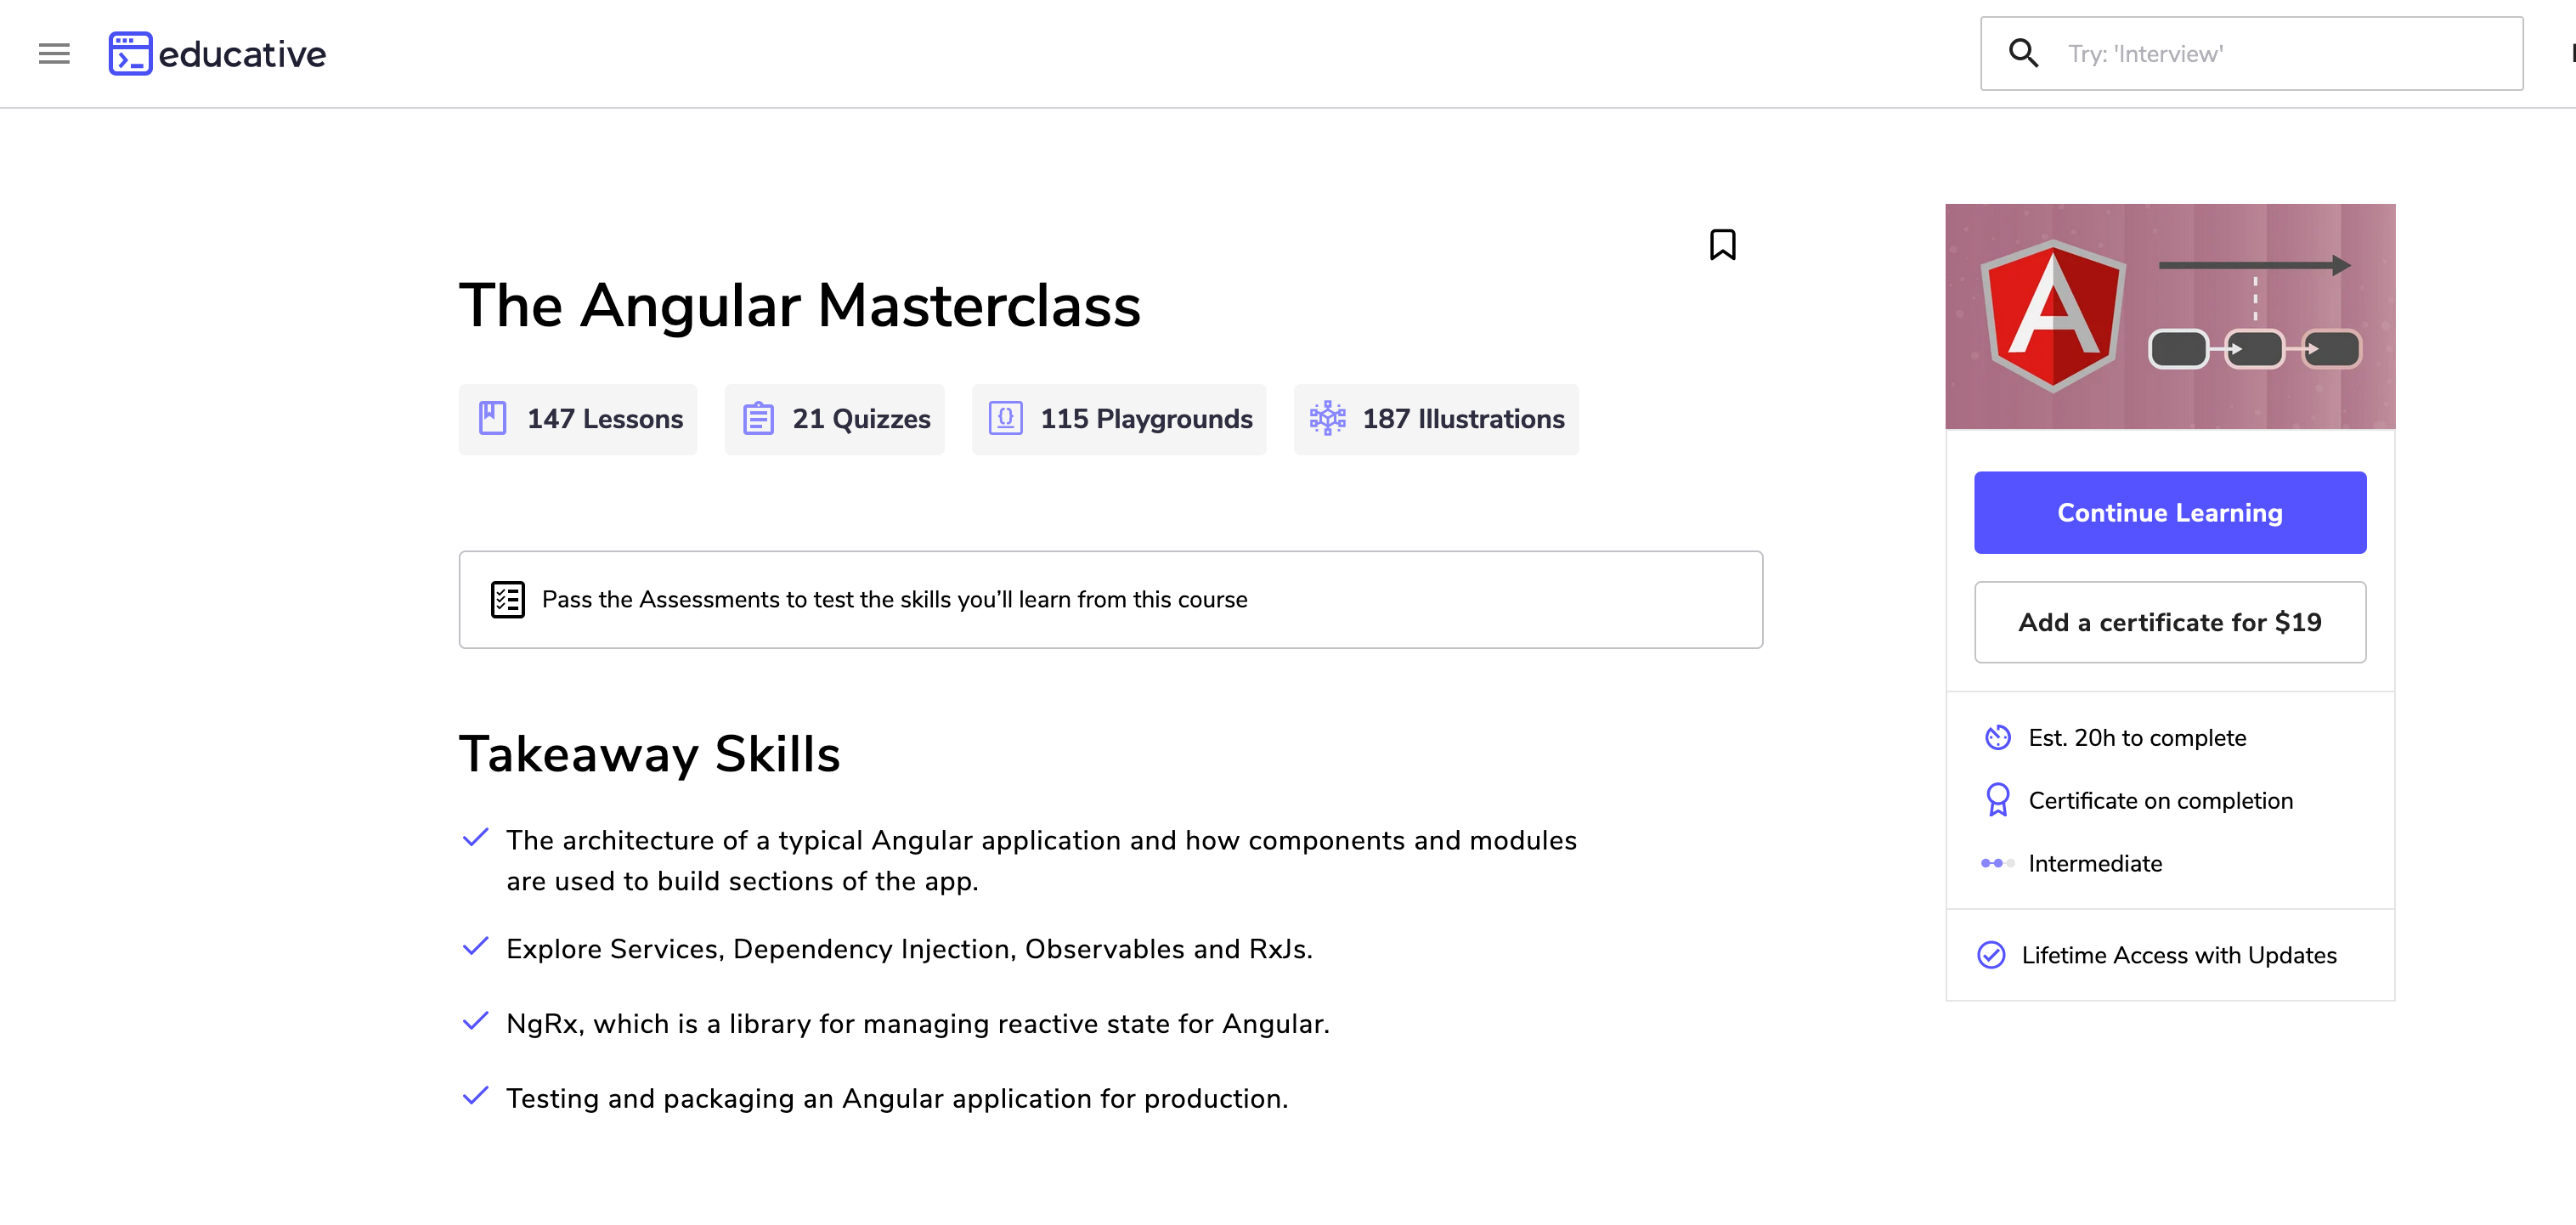
I’m pleased to announce that the wonderful people at Educative.io have turned my book, Getting Started With Angular, into a course. The course is called The Angular Masterclass . The course contains 147 lessons and should take 20 hours to complete.

Course Aims

The main aims of the course are to teach you:

  1. The architecture of a typical Angular app and how components and modules are used to build up the sections of an Angular app
  2. Explore Services, Dependency Injection, Observables and RxJs
  3. Learn about NgRx
  4. How to test and package your application ready for production

Course Overview

In this course, you will use Angular to build a fully-functional sales team contacts application.

To start things off, you’ll learn about Angular architecture and how components and modules are used to build sections of your application.

In the second section, you’ll dive into routing and navigation, dependency injection, and observables.

In the last part of this course, you will get hands-on experience managing the state of your app as well as testing and troubleshooting. Throughout the course are three different assessments which will be used to test your understanding of the material. By the end, you will have a great new application for your portfolio, as well as a better understanding of how to design an Angular application from scratch.

The team at Educative have done a great job setting out this course, the illustrations are fantastic and really help convery the points I was trying to make in the book.

Writing Maintable Angular

I’ve recently given my first talk on the great NgHuston YouTube channel, the topic of my talk was ‘Writing Maintain Code in Angular’.

The main idea of my talk is how we can structure our Angular code in order to make it maintainable for the long term use of the application. In the talk I go through two example apps, both with the same functionality, a book search app, but in the code I’ve tried to show how you set out your folders and components, lead to more maintainable code. That as the application grows it it easier to add new features and maintain when bugs arise.

If you want to see a video of my talk you can, here’s a link to the recording of my talk .

The main points of my talk

In the talk I tried to put across a series of points that are important in writing maintainable Angular code. These points are:

  • Make use of modules to structure your code into small sections
  • Use descriptive property names and function names
  • Make use of methods to write more descriptive code
  • Use Types to create a domain specific language describing the data of the application
  • Write tests that allow you to refactor your code to make it more maintainable
  • Refactor as you go, keeping the code tidy, manageable and readable

In the talk I expanded on these points and try to show through the code examples how to write the example code so it is more maintainable over time.

Here is a link to my slides from the talk.

What painting a shed can teach us about writing software

What can we learn from painting

With the world being on lockdown I recently had time to finally get around to painting my garden shed. It’s a job that I kept putting off because I wanted to do other things (like playing Ghost Recon Breakpoint).

Anyway, I finally started to paint my shed and as I worked away on painting the shed, I thought to myself how we approach something like painting a shed can be job could be applied to software development.

Thinking about it there are five rules that you need to apply to paint that also applies to software development. These rules are:

  1. Always prep before starting
  2. Have the right tools
  3. Plan before starting work
  4. Don’t move on to working on a new section until you’ve finished what you started
  5. Practice makes perfect, well better

Always prep before starting

Before starting any project you have to prep. For painting a shed, you have to make sure the shed has been swept, removing all dust and dirt. Then you have to smooth down any splinters or rough edges and then make sure you have planned how you are going to tackle the work ahead.

Have the right tools

If you start trying to paint a shed with a small paintbrush, one that you’d use for painting a small picture. That would take you ages, and after a while, the brush would be useless through it not being the right tool for the job ahead.

The same can be said for the tools you use to build your software. In the Angular world we have tools like the Angular CLI, Karma for tests, WebStorm for writing your code. You can write an Angular application using Notepad, by why would you. Use tools that not only help you write code, but enable you to write the best code you can.

Plan before starting work

I’m not the best painter in the world so I need to spend a bit of time before throwing paint at a shed I need to make sure I’ve spent a bit of time planning what I was going to do.

So Ive learnt of the last few attempts at decorating that it I need to put in some planning before getting started. This involves working out what part of the shed I was going to paint, where I was going to start and what section of the wall I was going to paint.

Having a good plan for what I was going to do before getting started helped me do a better job this time than I had before.

This planning before you get started on a piece of work should be applied to development as well. Whenever you’re about to start a new feature or implement a new section of an application, spending a bit of time planning what you’re going to do before diving straight into the work is always recommend.

This planning , even spending a few short minutes thinking about how you’re going to tackle the problem in front of you, will save you so much time and probably lead to better written code.

Don’t move on to working on a new section until you’ve finished what you started

One thing I decided to do this time was to paint the shed section by section. This way I could keep track of where I’ve painted and move from section to section once a section had been completed.

Again this approach can be applied to development as well. When building a new application, it can be easy to start on one part of the application then quickly move on to the next, just to get the basics of the app setup. To give you the impression that you’ve got a lot of the application up and running, but this is not a great idea. Say you have a target of having 80% of unit test coverage for your app, but you’ve gone off creating screens, adding services and setting up routes. You’ve done all this work and no tests. Now you have to go back to where you started and try adding tests. But in your rush to get a lot ‘done’ you’ve written code that is hard to test!! So now what do you do, spend more time trying to work out how to write tests for code that is hard to test. All that time you think you’ve saved get all these sections done, now you have to spend more time trying to setup tests.

So it’s worth making sure that you have the section your working on completed before going on to the next feature. Yes, from a project perspective it can look like you’re getting a lot done. Your sprint tickets are being moved into In Progress and Done really quickly, but is the quality of the work you’ve done that good? Making sure you’ve finished to a decent level a section or feature of the app before moving on to the next will save time in the long run and the quality of the work you do as a developer is more impressive than moving tickets on a sprint board.

Practice makes perfect, well better

Finally, the thing I did learn while painting my shed was, while I don’t paint sheds as a living I did notice that this time I was doing a better job than the last time. Each time I had to do some decorating at home, it was a perfect opportunity to practice my painting skills and the more times I did this the better I got.

Now I admit my painting skills are not great, but that shouldn’t stop me from trying. The more times I try, the more times I could practice and through this I was getting better.

The same can be applied to web development, the first website or web application you build won’t be perfect, but only through trying over and over will you get better at writing good quality apps. It’s better to keep practicing and trying this leads you to learning new and better ways of tackling problems. Leading to better apps for your users.

A great book on this idea of practising and getting through this barrier of thinking that you’re working isn’t good enough is Steven Pressfield’s book The War of Art where he talks about the resistance we feel putting our work out there, but through getting through this resistance and keep putting work out will we get better at our work.

So while I’m not a great painter and decorator, though taking my time, working bit by bit, using the right tools for the job and not putting off getting the work done. I’ve managed to do a decent job on my shed. Taking this approach can also lead to good quality code, leading to good quality applications.

Working with legacy apps

Angular 11 has just been released, over the last few years, Angular has gone from version 2 to 11 its growth is amazing, and with each release, there are new features and new ways of working with Angular.

While this is great and shows that Angular is still a vibrant framework, it does mean that having a long term Angular app needs to be closely maintained. Version numbers need to up upgraded, test coverage needs to be maintained, there is a lot of work involved in managing legacy Angular apps.

What is a legacy app?

For me, a legacy app is one that cannot be easily maintained. Where the code base is structured in such a way that it takes a new developer on the project a few weeks to feel comfortable in being able to add new features to the app. Where the application structure doesn’t follow any industry standards and where it takes a series of steps to just get the app running locally.

With applications like this, not being able to add new features or upgrade the underlying technology that is running them means that eventually, the client will begin to resent the application that use to make their work so much easier. They become a drain on the clients time where they have to find ways around the problems the old legacy application is giving them.

How can legacy apps be improved

Not all is lost with legacy apps, there are ways to bring them back to what they were. It just takes time, effort and clear understanding with the client that things may seem to get worse for a short while but soon the application they use every day will be better.

What steps can a team take to update a legacy Angular application?

The steps that a team can take when upgrading a legacy Angular application, they are:

  1. Have Unit Tests – tests help by making sure any code changes have not broken other parts of the application. As the code is upgraded, or versions of packages are updated tests can be run to show these changes have not had adverse effects on other parts of the app.
  2. Have UI tests – these tests can be used to show how the app works for the end-user. Even if you have a legacy app that doesn’t have any end to end tests, tools like Cypress are so powerful now, it makes writing end to end tests easier. Having tests like this in place before making changes to a legacy app is a good idea so these tests can be run to check that the app still works as it did before.
  3. Use Angular Elements to upgrade an app in stages – if you have an AngularJS application that can’t be re-written in one large go. Angular Elements are a great way to improve parts of an application in stages. Angular Elements are complete Angular (not AngularJS) applications that can run within AngularJS application (this is a method I used to upgrade parts of a large app for a major organisation. We wrote new parts of the app as a standalone Angular app, then converted it to an Angular Element and loaded that in the original legacy AngularJS app. To the user, there was no visual difference, but to use as development team, we could use this method to upgrade the entire app, bit by bit.
  4. Agree to use an industry standard to how to structure any new parts of your application – if you are going to upgrade your legacy Angular application to the latest version, either through the use of Angular Elements or through a gradual re-write. Then agreeing to use an industry-standard approach to how to structure the update application is an excellent idea. For example, you decide to use an approach like adopting NgRx as the way you are going to structure your Angular app, you’ll find that the developers on your team will enjoy working with a standard approach to developing the application. There would be more resources for them to make use of when looking for the best practice approach to solving a problem. They will enjoy developing an application they know that the new skillset they are learning can be used elsewhere in the industry and an employer it will be easier to get new developers on a project up to speed to be able to work on the project if it follows a well known standard approach.

Our app sounds like a legacy Angular app, what can we do?

If your team is struggling with a legacy Angular all is not lost. You can improve it without completely scrapping it and starting again. It just takes investment by both the development team and the end-user in believing that things may be hard to work with for a bit, but through using some or all of the ideas I’ve listed above. The application can be turned around from an old legacy application that is slow and hardly has any new features. To a much faster, useful application, where new features can be added in just a few weeks instead of months. Making both the developers of the project and end users happier.

If you feel that you need an Angular expert to help you with your legacy Angular app, then feel free to contact me.

Angular and Nest idea for fullstack apps
Photo by Steve Halama on Unsplash

I’ve recently worked on a project where we found ourselves in the situation where we was waiting for some APIs to be developed by the backend team. So in order to not stop our development we decided to look at creating mock APIs.

Now there are many online services that can provide you with a mock end point to work with, but there are limitations with the number of endpoints you can make or the structure of the data you can return.

So we decided to take a look at using NestJS in order to create our mock APIs. First impressions were really positive, as an Angular developer I found getting started with Nest very easy. With Nest using similar concepts to Angular (Services, Modules etc) I found Nest a great way of adding a backend to my Angular application, Nest is something I plan to look at further.

I can see that there will be two approaches to creating a fullstack application, one approach seems to be ReactJS with Node/Express and the second approach is Angular and Nest. If you look at the job market you’ll see a lot of roles where the tech stack is React and Node in order to create a complete fullstack application. Now with Nest becoming more and more popular I can see Angular and Nest becoming a tech stack for creating a fullstack application.

If we look at how Nrwl are developing enterprise applications they are taking this approach of using Angular with Nest as their stack for their clients. As a side note when we decided to create our mock APIs we was using Nrwl’s Nx service, which makes managing the setup of a complete Angular/Nest application so easy and with the addition of Cypress it makes a fantastic complete approach to creating a full stack application.

As an Angular developer I would recommend that any Angular developers look at using Nest even if the applications they build are using APIs created in another language by another team within their organisation. The reason I think we should look at Nest is because if, like I did in this application, you have to wait for the ‘real’ APIs to be ready you could use Nest to create a mock APIs.

Eventually I can see the Angular/Nest approach becoming a standard way of building fullstack applications, which is something I’m planning to work on while I’m between projects.