Angular’s new component structure

With all the new features coming in Angular, the structure of the component (which are the building blocks of an Angular app) is, in my opinion, changing from what it use to be.

Before the introduction of standalone components and Signals, a typical Angular component would be made up of:

  • A TypeScript file
  • A HTML template
  • A CSS/SCSS file

Each part of the component, nicely separated in it’s own file and each component belonging to it’s own module. This approach has worked for many projects and is still used in a lot of Angular projects. It’s great, but things have moved on. More modern web frameworks have taken a slightly different route and the Angular team have worked hard on giving Angular developers the option to write their apps using this new, modern approach.

So from Angular 15+ the Standalone component was introduced, allowing us as Angular developers to create components like this:

import { Component } from '@angular/core';
import { RouterLink } from '@angular/router';

@Component({
  selector: 'app-home-page',
  standalone: true,
  imports: [RouterLink],
  templateUrl: './home-page.component.html',
  styles: ``,
  template: `<h1 class="text-3xl font-bold underline">Hello world!</h1>
    <button
      [routerLink]="['/contact']"
      routerLinkActive="router-link-active"
      class="bg-blue-500 hover:bg-blue-700 text-white font-bold py-2 px-4 rounded"
    >
      Add User
    </button>`,
})
export class HomePageComponent {}

In this example, we have everything in the single file. The TypeScript code, though not much of it here, the HTML template and a place for the styles. Also any imports are clearly listed in the imports array, everything is just there. Easy to see and read what is happening in this component.

Comparing with Vue

Not only have I worked on Angular projects, I’ve also spent sometime working with VueJS which is a fantastic framework, with a lot of great features and support.

One thing I did like about Vue was it’s approach to single file components, which at the time were not part of Angular. This is how a Vue component looks:

<script setup lang="ts">
import { RouterLink, RouterView } from 'vue-router'
import HelloWorld from './components/HelloWorld.vue'
</script>

<template>
  <header>
    <img alt="Vue logo" class="logo" src="@/assets/logo.svg" width="125" height="125" />

    <div class="wrapper">
      <HelloWorld msg="You did it!" />

      <nav>
        <RouterLink to="/">Home</RouterLink>
        <RouterLink to="/about">About</RouterLink>
      </nav>
    </div>
  </header>

  <RouterView />
</template>

<style scoped>
header {
  line-height: 1.5;
  max-height: 100vh;
}
</style>

Again everything is in the single file and clear to see. I like how in the Vue version the parts of the component are separated into <script>, <template> and <style> sections, making it easier to see the different parts of the component (this is great if your component has a lot of HTML or TypeScript code).

After working with Vue for a bit and enjoying the single file component structure, when I came back to working on an Angular project I missed the simplicity of the SFC (single file component) that Vue uses. But now with SFC components part of the new Angular I think we will start to see more and more Angular projects take advantage of the SFC architecture.

What are the advantages of the SFC approach

As I see it there are a few advantages to the SFC approach that as Angular developers we can now take advantage of, they include:

  • Easier to read code – now with everything in one file it’s easier to get a complete picture of what the component does and how it works. Ideal for when you are taking over an existing project.
  • Easier to maintain – the code for the component is there in one file, changes are easier to keep track of and refactor when in one file rather than jumping between multiple files
  • It’s easier to explain the code base to another developer – going through the code component by component makes it easier to explain how an application works, rather than going through multiple files trying to explain how the app works.
  • It is easier to test – with modules not being such a core part of Angular now, testing and the mocking for tests are more straight forward to write. Removing a lot of the negative reasons why tests are not written. With less to mock it’s easier to write tests and so there is no reason not to write them.

SFC allow cross framework understanding

One of the main advantages I see to SFC’s is it allows developers from other frameworks to pick up Angular easier – before SFC if you showed a React developer or a Vue developer the codebase of an Angular application it can be overwhelming with the amount of files and listing that this TypeScript file belongs with that HTML file. Now a developer with experience of either React or Vue can understand and relate to this new approach in an Angular project. Also the opposite applies, as an Angular developer who has worked with this SFC architecture when I see a Vue or React code base I find it far easier to relate back to what I already know when looking at the code. I think this will mean that as web developers we can work on multiple projects no matter what the framework used, with SFC the architecture is similar in all cases and we all know HTML, CSS and JavaScript which are the building blocks for all web frameworks.

Thinking of converting your Angular app to use SFC

If you, or your company needs help converting your Angular project to using the new SFC architecture feel free to contact me I can help upgrade your Angular apps to use this new architecture.

Update your package.json file for better tests

By default Angular gives you a couple of commands to run:

npm run start
npm run build
npm run watch
npm run test

These commands get you up and running, you can run the app in the browser, build the final version and run tests in run once.

I like to add a few more commands to my package.json file, these extra ones are:

npm run test:watch
npm run test:coverage
npm run test:ci
npm run lint

These commands give me more options for running my tests, in watch mode, with code coverage and in both watch mode with code coverage. There is also a linting check, which is always helpful for code quality checks.

The full commands in package.json look like this:

"test:watch": "ng test --watch",
"test:coverage": "ng test --code-coverage",
"lint": "ng lint",
"test:ci": "ng test --watch=true --browsers=ChromeHeadless --code-coverage"

Out of all four new commands the most essential one is the test:ci one, which runs my tests in headless mode (which is great as I don’t want to have the Karma runner opening the browser all the time) gives me an overview of all the code covered by tests.

While something like NX will give you more options and use Jest, being able to run these commands in a Angular CLI based project does make running tests easier leaving no reason not to write tests.

The Angular Renaissance has started with Angular 17

Yesterday (the 6th Nov) the new Angular.dev website was released as part of the new push for Angular, what is now being called the Angular Renaissance (a great way of putting it).

The new site looks amazing, the navigation is great, and the new docs are excellent. It is so much easier to find information in this new layout; the team has done an amazing job.

As part of the new launch, the Angular team hosted a live stream on YouTube going through the new features coming in Angular 17. Standalone components will be the default from version 17. There will be new component flow controls that will eventually replace ngIf and ngFor. There’s also the new deferred loading, which looks fantastic and is a great feature. Additionally, there is the ability to use ESBuild and Vite as replacements to the current build system, Webpack, making build times 2.5 times faster.

So Angular 17 is a major revamp of the framework, it can now really compete with the other web frameworks, and still continue to be an excellent choice for a company to invest their time and money using for their next web application.

Angular is exciting again

After finally catching up with the keynote talk at this year’s NgConf and seeing all the new features and direction Angular is moving towards, I really feel that Angular is exciting again.

Not to say it wasn’t exciting before, but when you look at what the other frameworks were doing and the way they allow you to build apps, going back to work on an Angular app wasn’t as exciting as working with something like Vue for example.

It’s not that I don’t enjoy working with Angular, I do, it’s what I specialise in, that’s things did start to appear over complex when you compare it to other approaches and how fast you can develop with them Angular was becoming too over complex and slow to work with.

Why Angular is now a better Choice for building apps

Now, with Angular v16, Angular is back as a great choice to build full-featured applications. I’d actually say that it’s better than other choices as not only can you build Angular apps using a more streamlined approach, but you get all the other features like routing, an HttpClient, a testing framework, the CLI, RxJs all as part of the framework. Removing the need to worry about what third-party library you need to bring into your project just because the framework you’ve chosen doesn’t have built-in support for it.

So what are these new features that make Angular exciting?

In version 16 there are Signals, Standalone Components (which actually came out in version 15), Server-Side Hydration, Required Inputs, and Deferred Loading (this is still in an RFC so might come in a later minor version of v16).

Plus there are a set of new developer experience-related tools that make Angular v16 even better to work with. These tools include schematics to change your NgModule-based applications to use Standalone components, support for TypeScript version 5, the ability to pass data via a route into your components directly using the Component’s inputs instead of just relying on query or path params, an improved Angular language service so imports are automatically added in your editor and so much more. To get a complete overview read this post from the Angular Blog.

Is there a new approach to Angular?

Well, with the new features in v16, Angular apps can now be built using a different approach to previous versions. If you want to build a fast, lightweight application with a few components then previously you may have looked at React or Vue, but now Angular is in that mix because an Angular app can now be developed without large Modules or complete RxJs functions. If you have a team of developers who are new to web development, then having them build an Angular app that just uses components and makes use of Signals to pass data between components (which is conceptually easier to get than RxJs when starting out) is now a great approach.

Angular can now be written in a far more streamlined and straightforward approach, then as the needs of the application grow (and that always happens) more of the features from Angular can be incorporated into the application.

So now you can build Angular apps using a different approach, no more does Angular need to be seen as this web framework where it can only build large-scale enterprise apps can. You want to get started building quickly, use Angular 16, want your team of new developers to learn a well-documented and stable framework, use Angular 16, want to start your new enterprise-level application that needs to be supported over the next 2-5 years, use Angular.

I’m looking forward to diving into Angular 16 over the next few weeks it’s good to be part of the Angular community.

The Benefits of Test-Driven Development

Test-driven development (TDD) is a software development process that relies on writing automated tests before new code is written. The tests are used to ensure that the code meets the requirements of the application.

TDD has a number of benefits, including:

  • Improved quality: TDD can help to improve the quality of software by ensuring that all code is covered by tests. This can help to identify defects early in the development process before they become difficult to fix.
  • Reduced costs: TDD can help to reduce costs by making it easier to refactor code. Refactoring is the process of changing the structure of code without changing its behaviour. With TDD, developers can refactor code with confidence, knowing that the tests will ensure that the changes do not break the application.
  • Increased productivity: TDD can help to increase productivity by making it easier to write code. When developers have a clear understanding of the requirements of an application, they can write code that meets those requirements more quickly.

How to Get Started with TDD

If you are interested in getting started with TDD, there are a few things you can do:

  1. Learn the basics of TDD: There are a number of resources available online and in books that can teach you the basics of TDD.
  2. Find a TDD tool: There are a number of TDD tools available, such as JUnit and NUnit. These tools can help you to write and run tests.
  3. Start with a small project: It is a good idea to start with a small project when you are first getting started with TDD. This will allow you to learn the basics of TDD without feeling overwhelmed.
  4. Get feedback from others: Once you have started using TDD, it is a good idea to get feedback from others. This could include your team members, your manager, or even other developers who are using TDD.

Conclusion

TDD is a powerful tool that can help you to improve quality, reduce costs, and increase the productivity of your software development projects. If you are interested in getting started with TDD, there are a number of resources available to help you.

Contractor Chronicles 3

This week was spent working on the maintenance of an existing Angular application, which has been recently updated to Angular 15.

The upgrade was fairly easy, Angular and the Angular CLI make upgrading between versions so easy. It was something I missed when working with Vue. I know that the Vue CLI does have a way of upgrading, but with the Angular CLI being a bit more mature I find the upgrade process far more straightforward.

I also spent a bit of time watching a live Twitch stream of Josh Goldberg (he’s a full-time open-source developer, who specialises in Typescript), in this stream he was reviewing a pull request to a Typescript project Typescript-ESLint, which is a library for adding linting for Typescript to ESLint.

Linting is a way of checking for bad practices in your code, it is a set of rules for JavaScript. This Typescript-ESLint project adds rules for Typescript to ESLint.

As I mentioned in earlier Contractor Chronicles I said I was looking for an open-source Typescript project to get involved in and I started to look more and more into this Typescript ESLint project and get involved in the project.

So this week I spent a bit more time looking at this project and after watching the Twitch Stream of Josh’s I’m starting to understand how the project works and hopefully soon I can start contributing to the project.

Finally, I spent some time going through a plan for the rest of the year, breaking down some goals I have for the years into projects. Then using the PARA method to organise these projects and goals.

Dealing With CommonJS based dependencies

An Angular quick tip I discovered today was if you have an application with many third-party libraries that use CommonJS instead of ES modules. You can add the names of these libraries to the "allowedCommonJsDependencies" option in the builder settings in Angular.json.
This helps remove all the warnings in your build, it is basically telling Angular that these libraries are ok to use CommonJS for now until they are updated.

This is great if you are updating an Angular app, but don’t want to go through and update all the dependencies that are still using the CommonJS approach. Then over time as you update these libraries they can be removed from the "allowedCommonJsDependencies" array.

Here’s a link to the official Angular docs on this – https://angular.io/guide/build#configuring-commonjs-dependencies

Using third party libraries are useful as long as they are maintained

There’s no denying that the open-source movement has helped move web development forward. Before open source was so prevalent on the web everything had to be built from scratch, there was no searching on NPM for a library that could help fix an issue you had or a framework to structure your application.
But one of the downsides I see with using third-party libraries in your application is if this library is no longer maintained or updated and your work relies heavily on this library it can easily become a maintenance nightmare.

I’ve worked on a few Angular apps now and many are using third-party libraries every time a new version of Angular is released I have to check if these libraries work with the latest version, which on the whole they do. But if one of these libraries is no longer maintained or worked on, then you are stuck with the choice of either not upgrading your Angular version (something I don’t recommend) or refactoring your code to remove this dependency (something I do recommend).

So when it comes to adding third-party libraries to our codebase we need to make a few decisions. First, is it regularly maintained? Checking the history of the library on GitHub can answer that. If there have been no updates within the last year I get worried. Second, if it is maintained how crucial is this library going to be in my application? If it’s core to how the app works how would I maintain the app if later this library is no longer updated? Will it break my application? Can I easily refactor my code to remove this dependency if I need to? These are all questions that need to be considered before just adding a library.

One tip I have used is if you are using a third-party library or component in your application to wrap it within your own library or component then use this ‘wrapper’ throughout your codebase. So if you need to remove the outdated component/library all you need to do is refactor your ‘wrapper’ to either use another third-party library/component or your own version.

Open source is fantastic, it provides so much but I think that in large-scale applications we need to be defensive in how we use open-source code. Third-party libraries are created by some excellent and hardworking developers, many of whom do this work on top of their own, so I think we should be thankful for their work, but just be aware of how much we are using these libraries.

Back in the Angular World

After a year-long contract with Vue, I’m just starting a new contract working with Angular again.
It’s strange coming back to Angular from Vue, the Angular eco-system is far more mature than Vue. Angular is more of a platform than Vue, so when you start working with Angular, you find that the framework provides you with a lot more ‘out of the box’ than Vue does.
Does this mean that Angular is ‘better’ than Vue? Well no, they offer different things. Angular is ideal for larger-scale applications and teams, while Vue is great for applications that might not need an entire platform to get started.

The Angular Masterclass

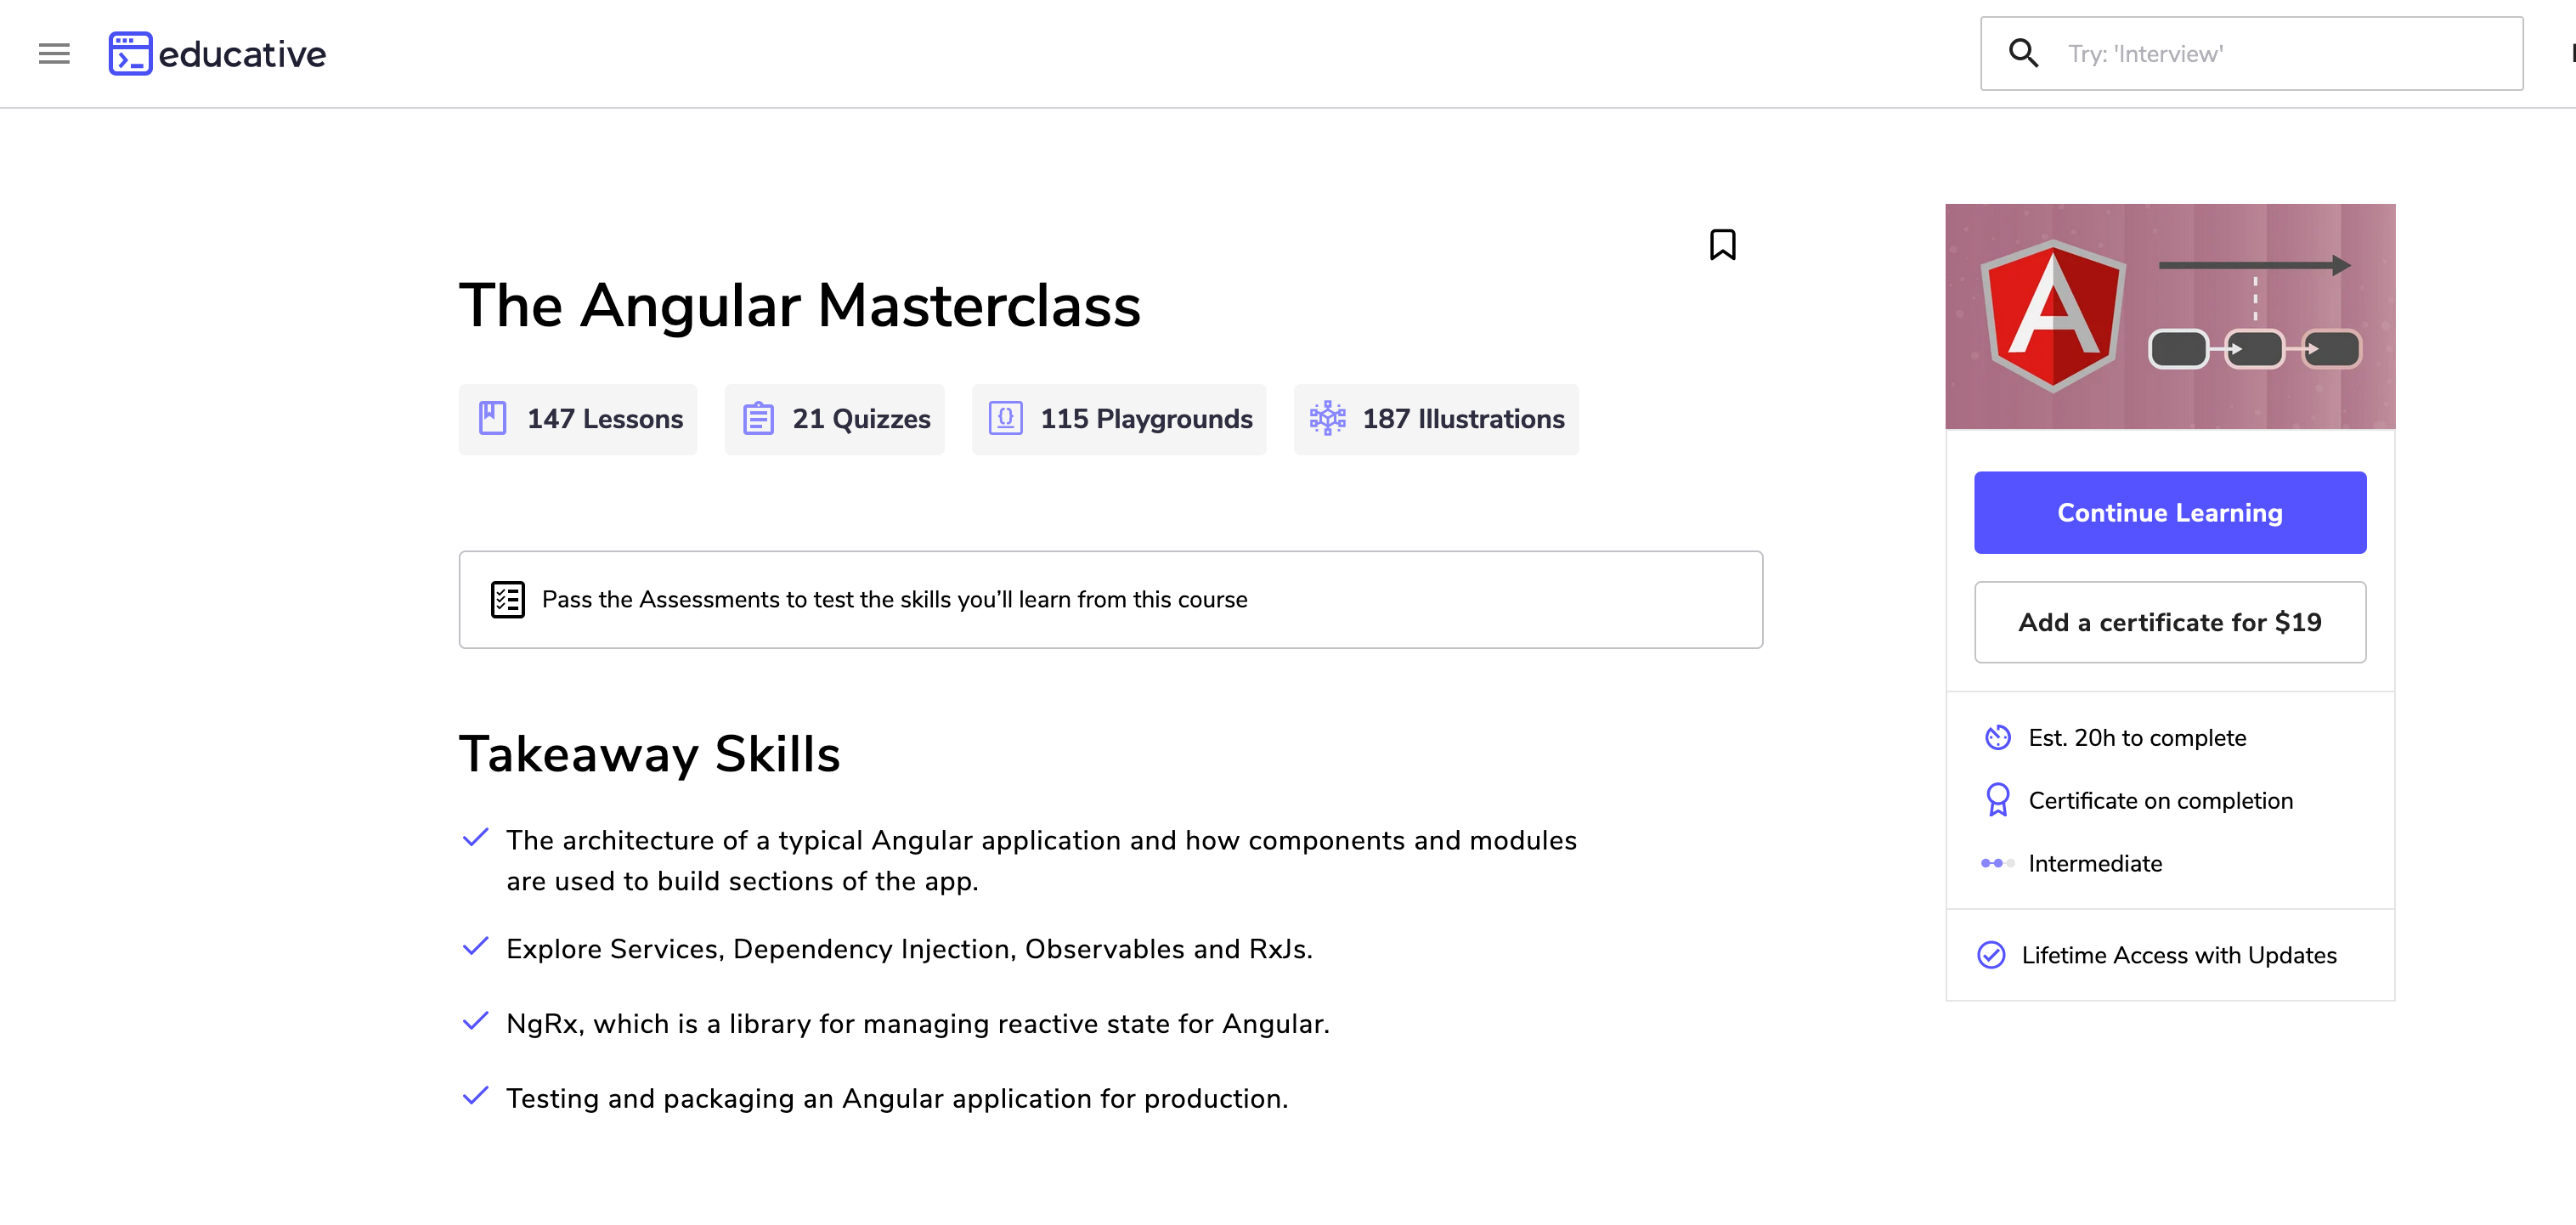
I’m pleased to announce that the wonderful people at Educative.io have turned my book, Getting Started With Angular, into a course. The course is called The Angular Masterclass . The course contains 147 lessons and should take 20 hours to complete.

Course Aims

The main aims of the course are to teach you:

  1. The architecture of a typical Angular app and how components and modules are used to build up the sections of an Angular app
  2. Explore Services, Dependency Injection, Observables and RxJs
  3. Learn about NgRx
  4. How to test and package your application ready for production

Course Overview

In this course, you will use Angular to build a fully-functional sales team contacts application.

To start things off, you’ll learn about Angular architecture and how components and modules are used to build sections of your application.

In the second section, you’ll dive into routing and navigation, dependency injection, and observables.

In the last part of this course, you will get hands-on experience managing the state of your app as well as testing and troubleshooting. Throughout the course are three different assessments which will be used to test your understanding of the material. By the end, you will have a great new application for your portfolio, as well as a better understanding of how to design an Angular application from scratch.

The team at Educative have done a great job setting out this course, the illustrations are fantastic and really help convery the points I was trying to make in the book.